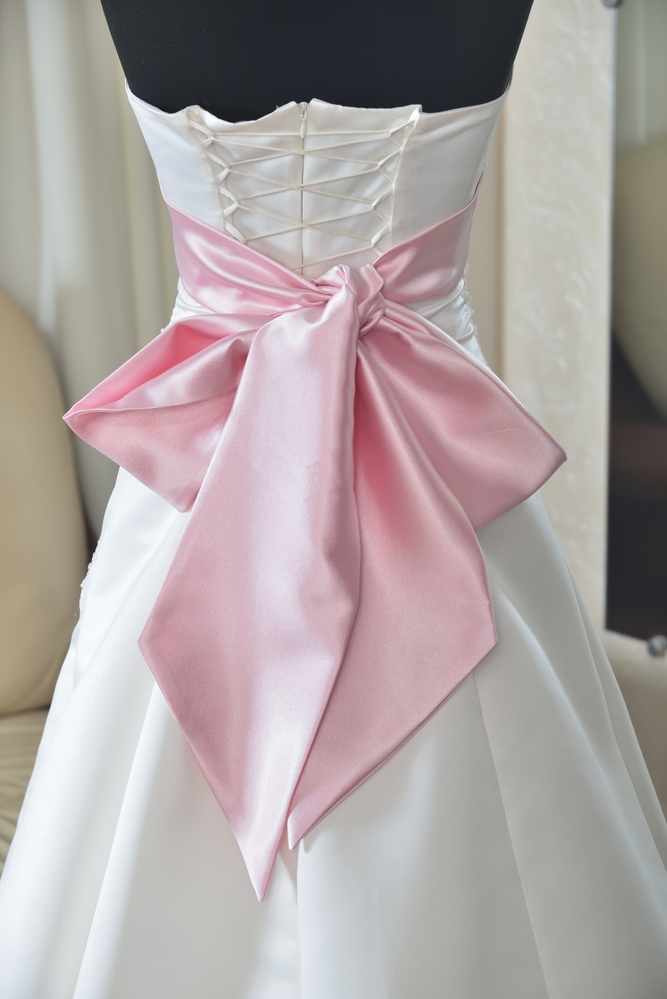
So you got a new dress or wore one already in your wardrobe and realized that it needs some tweaking to fit perfectly or look even better. Whether you are a clothes alterations enthusiast or a rookie in altering outfits, these 4 easy tutorials will help you shorten, put a side slit, mend a ripped seam and make your dress larger like a pro!
How To:
1. Shorten a dress or skirt

Copyright: <a href=’http://www.123rf.com/profile_epokrovsky’>epokrovsky / 123RF Stock Photo</a>
Refresh an old dress or skirt and give it a new look by shortening it a few inches.
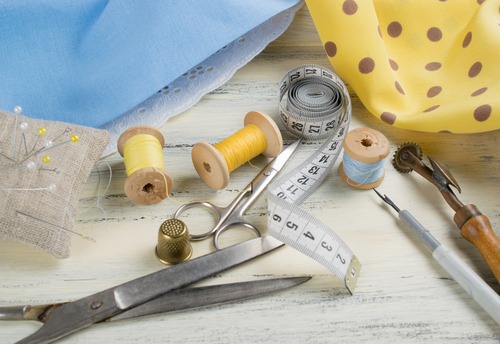
You’ll need:
Scissors (Westcott has some amazing models)
Seam Ripper
Measuring tape
Chalk
Sewing machine or a sewing kit
Iron and ironing board
Instructions:
Open the seams – See how short you want the dress to be and mark that point with the chalk. Lay it flat and cut the stitching of the seam on the bottom.
Sew the hem – Fold the hem up, making sure the chalk mark and the bottom of the skirt are in line. Pin and iron the hem around. Don’t forget to remove the pins! Sew the hem all the way around with small stitching. To ensure the outcome will be discreet and won’t show, use a matching thread.
2. Put a Slide Slit in a Dress of Skirt

Copyright: <a href=’http://www.123rf.com/profile_arturkurjan’>arturkurjan / 123RF Stock Photo</a>
Showing off a little leg can be a great way to give more room to a dress or skirt too tight on the knees. You can make one large slit on one side of the dress or two smaller ones, one in each side.
You’ll need:
Scissors
Sewing needle (medium size)
Seam ripper (optional)
Thread
Straight pins
Iron and ironing board
Instructions:
Open the bottom hem as it will help you open the side seam. To do so, remove the seam stitching in the bottom hem of the dress or skirt with the help of a seam ripper or small pair of scissors. You don’t need to undo all of it. Just enough so that you can easily get to the side seam.
Remove the side stitching with a seam ripper. Start by unfolding the bottom hem and removing the stitching from the dress’ side seam. At this point, you can either go a bit higher or cut just a little bit of the seam thread depending on how much of the leg you want to show. Before you proceed to anything else, you may want to try on the dress or skirt and check if the seam is opened to the desired height.
Fold back the edges and iron the side flaps down with the dress inside out. It will allow you to sew the sides easier.
With a small stitch, sew the flaps on each side of the slit all the way up to finish the edges (from bottom to top of each side of the slit). Don’t forget to tie off the thread once done; else it will surely unravel.
3. Let a Dress Out

It’s very common to reach a point where a favorite dress does not fit us anymore and needs someone to make it bigger. Our bodies change over time, and there are only a few very lucky ones that can still fit in their 12th-grade jeans and prom gown. For the rest of us, letting out is a valuable technique we can master and make our dresses or skirts bigger. To do this, we will use fabric from the seam and let it out of the seam.
You’ll need:
Scissors
Chalk
Seam ripper
Measuring tape
Sewing kit or machine
Iron and ironing board
Instructions:
Turn the dress inside out and check whether you have extra fabric on the seam to let it out.
Determine how much seam allowance you have (use the measuring tape). If it’s less than ¼” then it might be better to just leave it. Chances are it’s not enough.
Measure the new seams around the hips and waist and the front and back of the dress at these areas. The number you reach after you subtract the difference of each measurement is how much room you need to make the dress bigger on the hips and waist areas respectively. Mark ¼ of the amount you want to let out with the chalk. For instance, if you want to let out 4 inches, then you should mark 1” from the stitching on each side.
Remove the stitching in the tight areas with a seam ripper. Try not to pull too hard to avoid the seam holes to tear or stretch. If the seam crosses another seam(s) (i.e. an armpit), then stop.
Stitch up the seams on both sides of the dress with a sewing machine or a needle and similar-colored thread. Start by sewing on one end of the loose seam, where you have marked it. Remember to ties the ends of the thread.
As long as you are sure the fabric will be OK with heat applied to it, iron each seam flat.
Repeat the steps if you put on the dress and still fits too tight.
4. Take in a Dress

Accidents happen, and you may have let out a dress more than you should. Or maybe a dress you fell in love with is not the perfect size. No matter the case, you can adjust a dress too large quite easily now!
You’ll need:
Scissors
Measuring tape
Straight pins
Sewing needle (medium size)
Thread (similar-colored with the one used in the seam)
Seam ripper (optional)
Instructions:
Measure around your hips and waist, as well as the back and front of the dress at the same areas. Subtract the difference of the 2 measurements. What you get is how much you will need to take in the hips and waist respectively. As with letting out a dress (above), you will mark ¼ of the amount you have to take in from the seam, with the chalk.
Start sewing the new seam where it crosses another one (i.e. at the hips or armpit) and work your way down (straight stitch). Don’t cut off the extra fabric. Better leave it in place as a large seam in case you need to let out the dress in the future.
Finish with a zigzag stitch. That will prevent the raw edges on the seam to unravel.
5. Mend a Ripped Seam
When a seam rips, there is no reason to toss out the garment. You just replace the thread and you are done.
You’ll need:
Sewing kit or machine
Scissors
Thread
Iron and ironing board
Optional (but handy):
Seam ripper
Liquid seam sealer
Fusion tape
Instructions:
Determine what needs to be done. So, inspect the damage and find the area on the seam that needs to be re-sewn. If the dress is surged, then you will notice lots of thread overlapping the seams’ edges in a looping or overlapping manner. If the threads are not damaged, there is no reason to do something about them. You only have to replace the seam threads.
To prevent the loose threads from unraveling, tie them off. You should have a total of four threads, two at each end of the opening. Tie the 2 at the one end of the seam together against the seam’s edge and double knot. Do the same with the other torn seam. Once done, you will have a hole in the middle of the ripped area.
Start sewing a straight stitch from where the seam is still closed, around half an inch from the start of the ripped seam, and sew towards the open seam. Work your way to below the original seams stitch. Once you reach the open part of the seam, lay the sides of the seam together and sew below the holes of the old seam (so that the holes won’t show up when you are wearing the dress). If you want, you can use straight pins to help hold the ripped seam together all this time. Or you could use masking tape. Continue with the other side of the open seam (straight line).
Tie off the thread of one side and cut it about 1/8 inch away from the knot. Sew a few stitches at the other side of the seam until you reach slightly above the original stitching of the seam. Tie off and cut like you did with the other side.
Of course, if you have a question or find it difficult to perform any of these alterations on your own, we are always here to help!
Tips:
Always press the seam to get professional results, hide small stitching mistakes, and make it look as good as new. Just make sure the fabric can withstand heat and won’t damage or melt (read the label on the fabric).
If your fabric is heat-sensitive, lay a towel over it and iron just a small part of the seam (inconspicuous part) to see how it will react to heat.
Looped and zigzagged stitches help save yourself from having to deal with unraveling fabrics. If these stitches are damaged and you need to repair them, first remove all the damaged stitching and replace it with a zigzag stitch, ensuring you are overlapping the fabric’s edge with the stitches.
Have you tried any of these tutorials? How do you alter a dress? Let us know!